Isometric Water Tile Tutorial
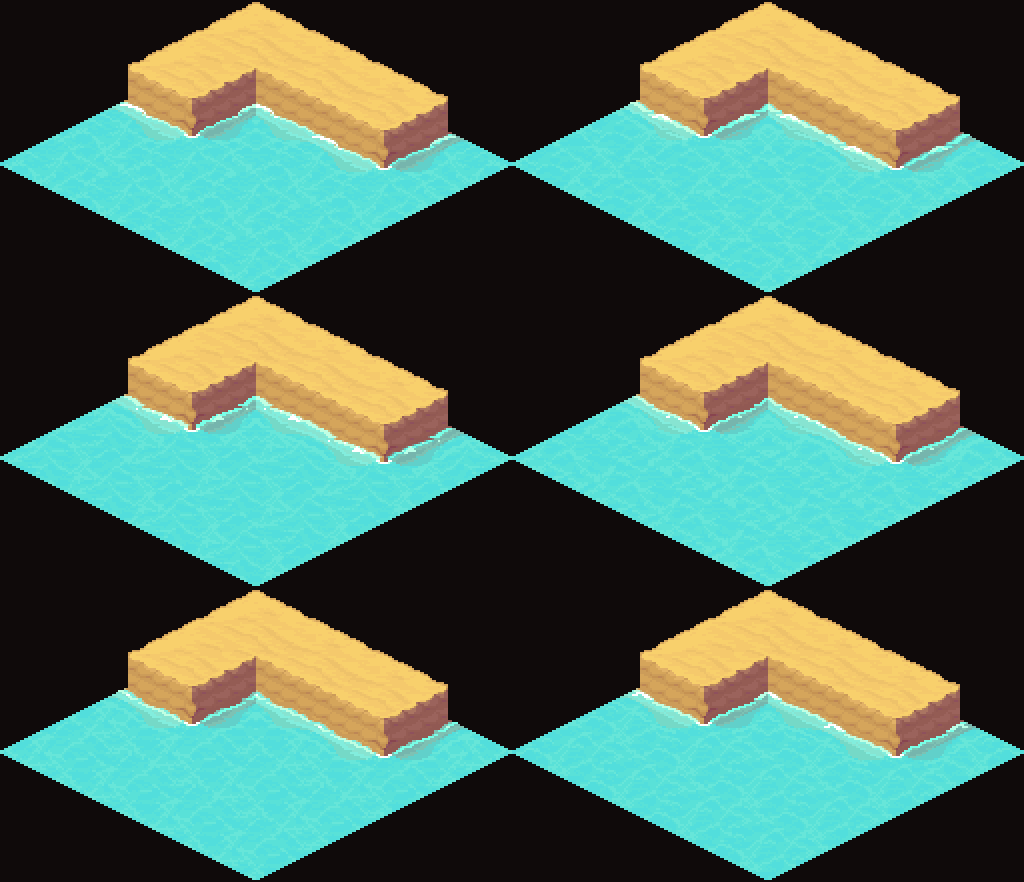
Animating isometric tiles can be tricky and was searching for isometric water tutorials myself. Since I had very little luck I decided to create my own method. I’ve included some animated guides for this 16 frame tile animation. The tutorial water is different from the above example, but the process is the same.
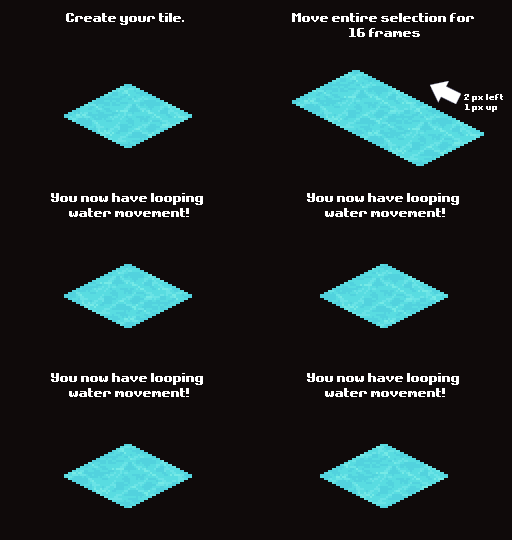
The first thing you will want to do is create your water tile! In this example we are working with a tile size of 64×32. Figure out the type of water you want to create. In this mockup example I was aiming for a tropical island. For water during a storm you might want to double the stagger height.
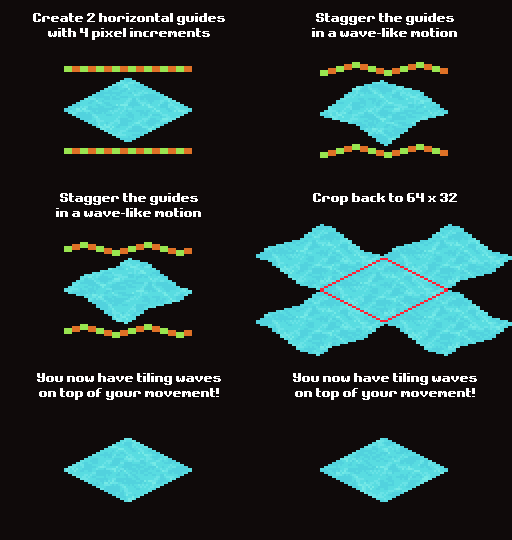
Now you have tiling water with waves! But what if you want water that isn’t moving in a specific direction? Having non directional water is more subtle and you don’t have to worry about interacting with objects at a specific angle.
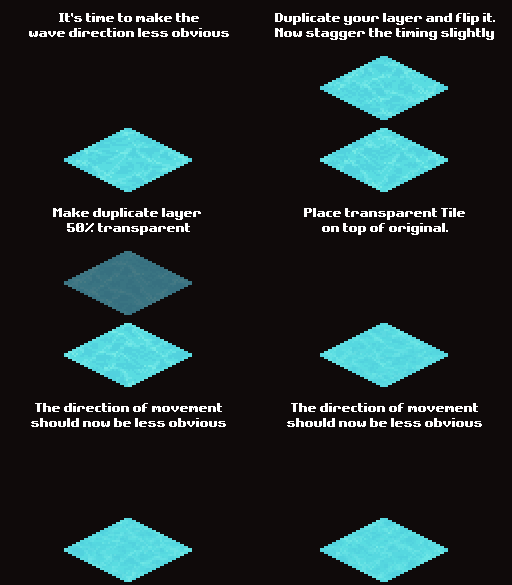
Play around with the time staggering of the duplicate layer to get different results or keep the same timing for a more predictable overlap.
Great! Now the water is non directional. But there is one little problem. By placing the transparent tile on top we’ve introduced new colours! It looks a bit blurry and not like the pixel art we intended it to be. Thankfully this just requires some minor tweaking.
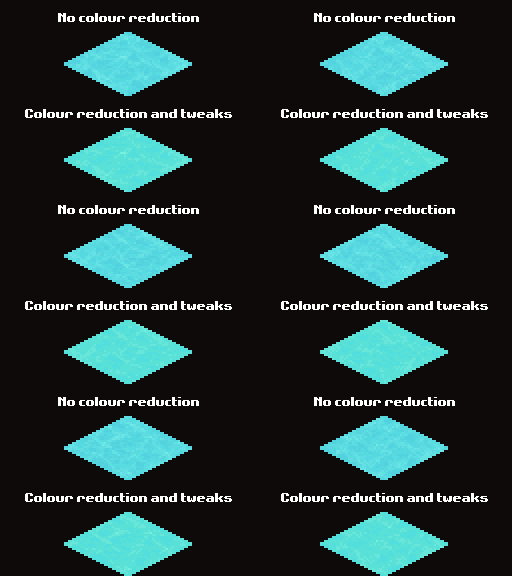
Reduce colours using fill tool tolerance, auto reduction, or copying the blurry new version back into an indexed version of your original tile. Tweak palette until you are satisified with results.

And there you have it! Looping isometric water tiles. Play around with the staggering for different results.
